Everything You Need to Know About Inflatable Arches
If you’re buying an inflatable arch for an event, there are only a handful of questions that matter:
-
What size do I actually need for the venue?
-
Do I need sealed-air or a continuous blower system?
-
How do I stop it moving in wind?
-
How should the branding be laid out so it reads from distance?
-
What’s the difference between Club / Sprint / Elite series arches?
Get those right and the rest is just practical planning.
This guide is designed to help you choose the right inflatable arch first time, whether you’re organising a charity fun run, a cycling sportive, a motorsport paddock entrance, a festival gateway, or a sponsor activation.
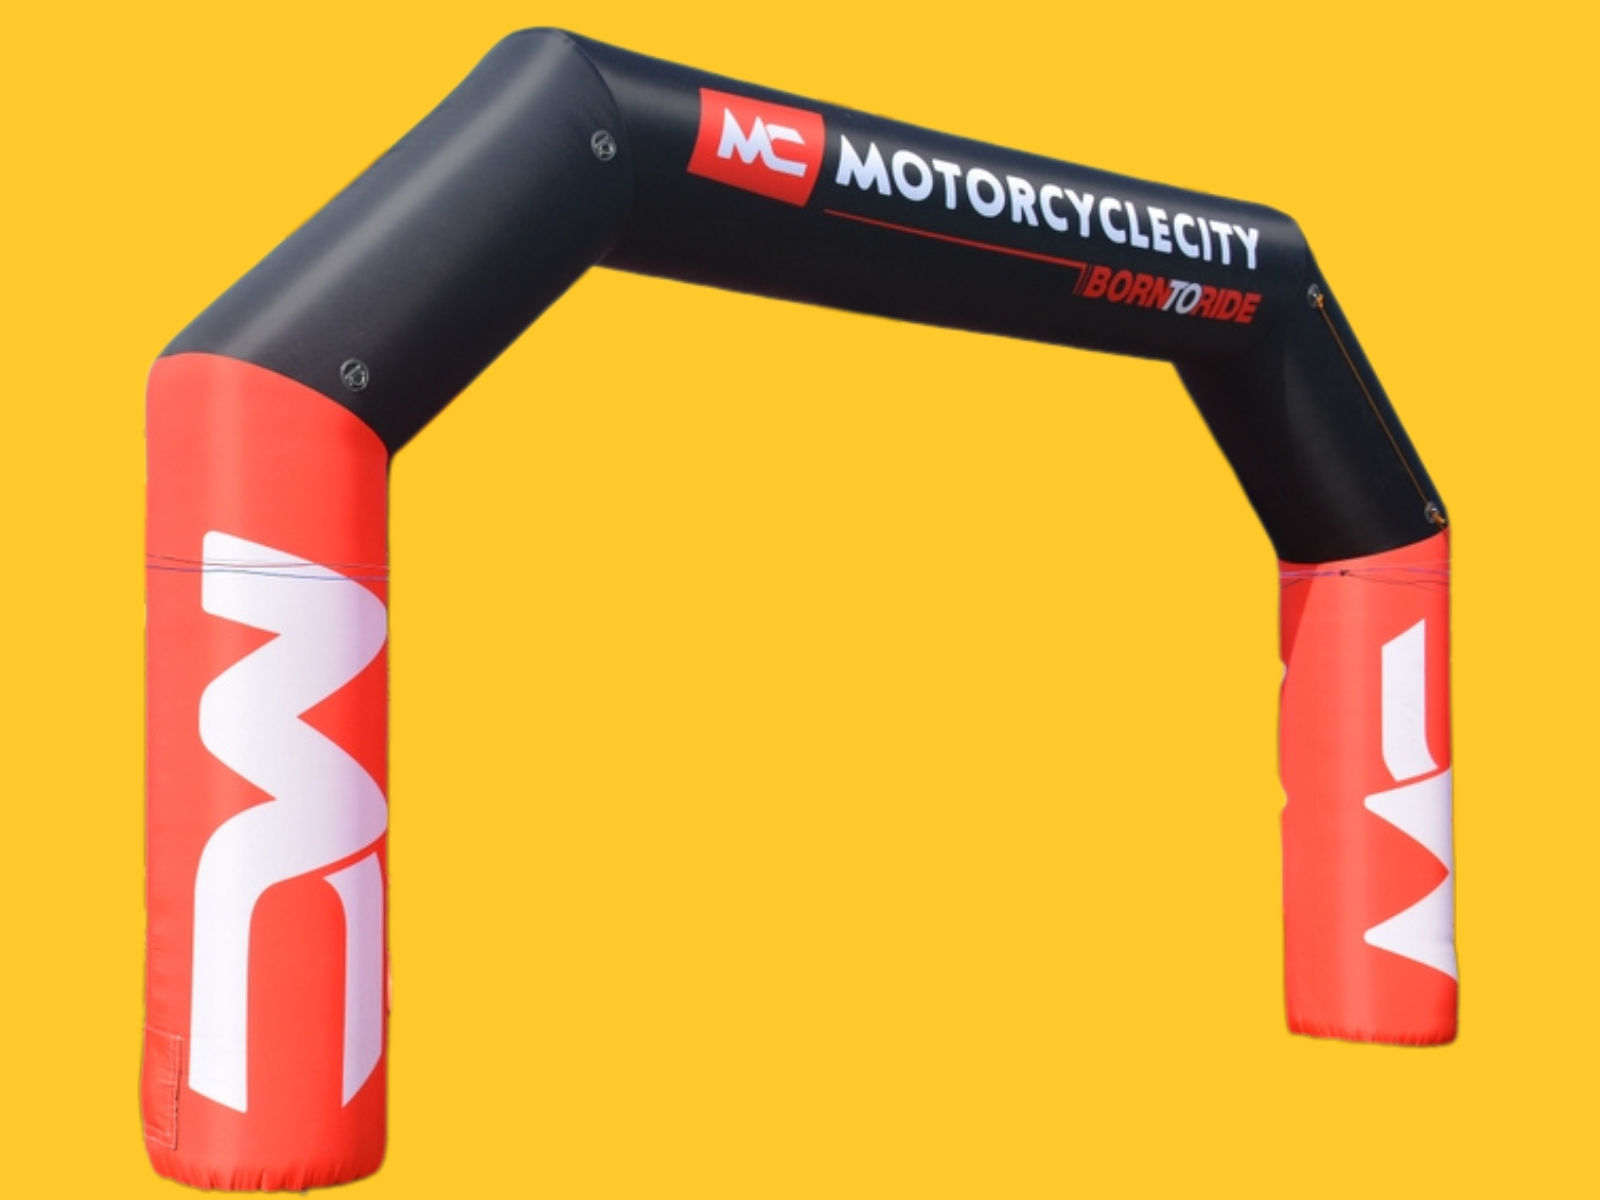
What an inflatable arch is (and why it works so well at events)
An inflatable arch is a portable gateway structure used to create a clear, high-visibility event marker. Most often it’s used as a start line, finish line, or entrance feature, but the real value is broader than that:
-
It instantly tells people where to go
-
It creates an obvious photo moment
-
It makes the event look “official”
-
It gives sponsors a guaranteed placement that will appear in content
If you’ve ever run an event with no clear start/finish marker, you’ll know what happens. People drift, the route looks messy, marshals end up doing signage work, and the photos lose impact. A good arch solves that in one hit.
The buying decision that matters most: sealed-air vs blower arches
Sealed-air arches (best for most professional event setups)
A sealed-air inflatable arch is inflated to pressure and then stays up without needing a blower to keep it inflated.
For event organisers, the benefits are immediate:
-
no constant motor noise
-
no trailing blower cables
-
fewer trip hazards
-
less reliance on awkward power sources
-
easier overnight use for multi-day events
If your arch is going to be up for more than a few hours, or you’re in a busy public environment, sealed-air is almost always the calmer, more professional choice.
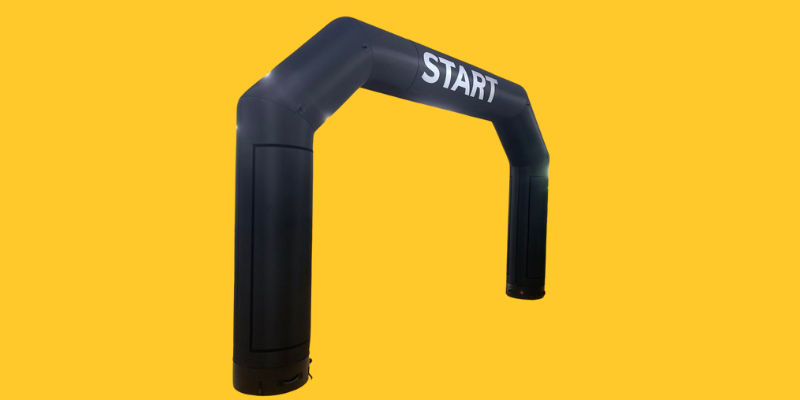
Continuous flow / blower arches (best for short setups or controlled environments)
A blower arch stays inflated because a fan is pumping air into it continuously. These can still be valid in situations like:
-
short-duration promo setups
-
supervised events where power is right next to the arch
-
spaces where you can safely route cables away from the public
But if you’re working festivals, city-centre events, touring activations or anything multi-day, you’ll feel the downsides quickly.
The simplest rule:
If the arch needs to look sharp all day with minimal babysitting, sealed-air wins.
How to choose the right arch size (properly)
Most people choose an arch size based on what looks impressive, then discover too late it either:
-
blocks flow
-
looks tiny in the venue
-
or creates anchoring issues due to placement constraints
A better way to choose is to work backwards from the venue.
Start with width: how wide does the “route” actually need to be?
-
A small community run with a narrow funnel can suit a smaller span.
-
A large fun run with a finish line surge needs width.
-
A festival entrance needs width even more, because flow never stops.
If an arch is too narrow, it creates a choke point and increases the chance of contact with the structure or the anchor lines.
Then consider height: what are you trying to achieve visually?
Height influences “readability” in a crowd.
-
higher arch = more visible through heads, flags, and signage
-
higher arch = better drone and long-lens photo framing
-
higher arch = more perceived importance
Practical size guidance (based on what tends to work)
6m wide arches
Ideal for smaller venues, club races, compact entrances, community events, and sponsor gateways where the route isn’t wide.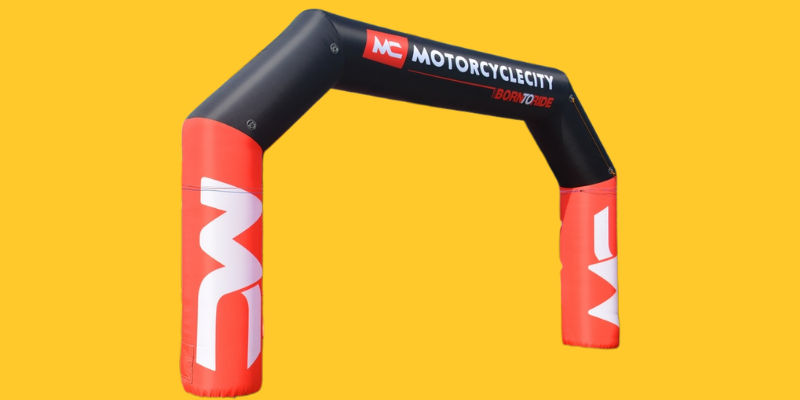
8m wide arches
This is the sweet spot for many events. It looks properly professional and handles heavier footfall without feeling cramped.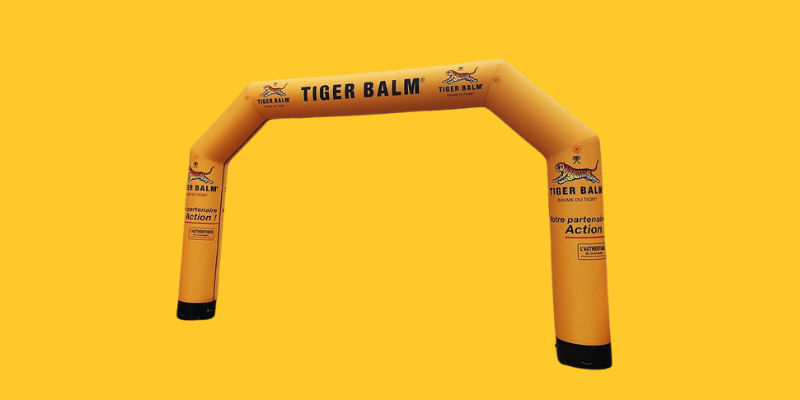
12m wide arches
Best for major finish lines, city centre events, big festivals, and high-profile sponsor gateways. It’s the headline option.Club vs Sprint vs Elite: what the series actually changes
If you’re choosing between arch series options, you’re really choosing how the arch presents itself and how it behaves in wind.
Club Series (60cm tubing)
Choose this when:
-
you need a lighter presence
-
the event is smaller scale
-
handling and transport is the priority
-
you’re working tighter budgets but still want a proper branded arch
It still looks professional. It’s just less “thick-set” and dominant.
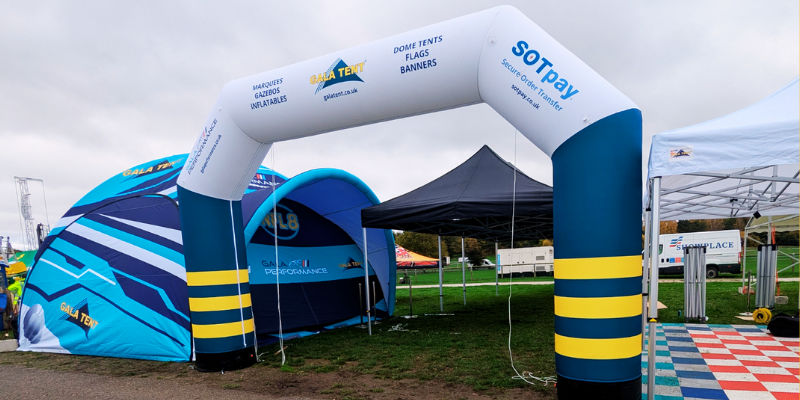
Sprint Series (80cm tubing)
Choose Sprint when:
-
you want strong presence
-
the event is high footfall
-
your arch needs to read from distance
-
you’re working sponsors who care about visibility
Sprint arches are usually the sweet spot between practicality and impact.
Elite Series (90cm tubing)
Choose Elite when:
-
you need the arch to dominate visually
-
the venue is big and competitive
-
this is a primary sponsor finish line
-
the arch needs to look premium on camera in any angle
If an arch is meant to be the centrepiece of the event’s look, Elite makes sense.
Where inflatable arches work best (and how to use them well)
This is where most guides are weak. So here are the common scenarios and what actually matters.
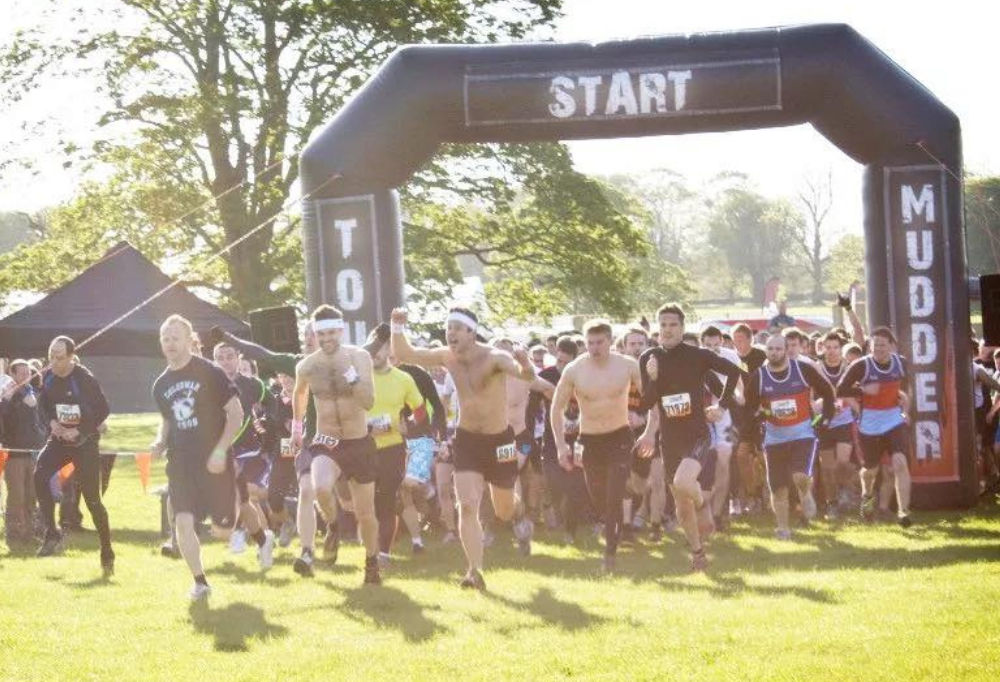
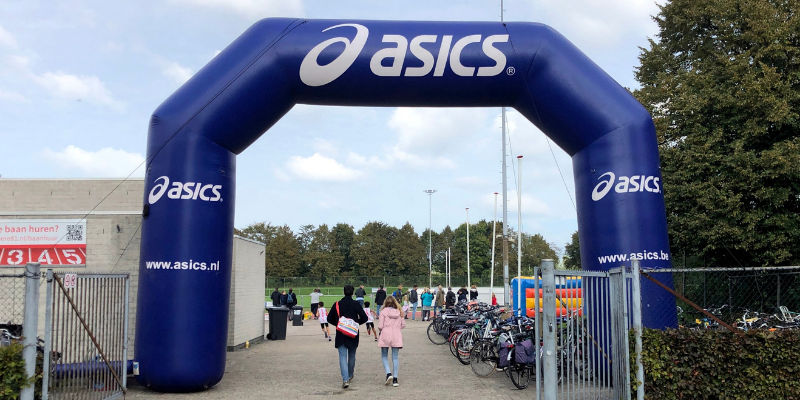
Running events and charity races
An arch earns its keep here because:
-
it creates a clean, obvious start
-
it creates an emotional finish photo
-
it gives sponsor branding guaranteed exposure
Tip: if sponsors matter, put the main sponsor on the crown and secondaries down the legs. The crown appears in most finish line photos.
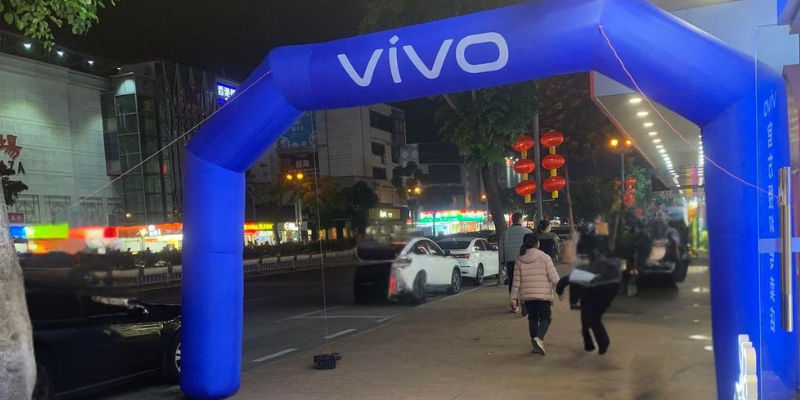
Festivals and fairs
Arches are perfect for:
-
entrances
-
ticketing direction
-
sponsor zones
-
internal wayfinding (“Main Stage this way”)
Tip: you’ll often be on hard standing. Plan weight solutions in advance.
Cycling events and triathlons
Width matters more, because:
-
bikes come through in groups
-
riders don’t stop suddenly
-
crowd barriers and route furniture become issues
Tip: always plan anchor lines so they aren’t in the rider corridor. You don’t want ropes at handlebar height.
Motorsport paddocks
Arches are brilliant for:
-
paddock entrances
-
sponsor gateways
-
VIP zones
-
hospitality direction
Tip: make sure branding is high contrast. Paddocks are visually busy. You’re fighting trucks, rigs, flags, signs,
Branding and artwork: the difference between “printed” and “effective”
You can print anything on an inflatable arch. That doesn’t mean it will work.
The biggest mistake with arch branding is trying to include too much. Remember what the arch is for:
-
it’s read from a distance
-
it’s seen in motion
-
it’s photographed quickly
-
it’s competing with signage and crowds
What makes arch artwork work
-
big logos
-
clean blocks of colour
-
strong contrast
-
minimal text
-
clear hierarchy of sponsors
What kills arch artwork
-
too many logos at the top
-
low contrast or “nice subtle” colours
-
thin fonts
-
“poster style” layouts
If you’re working sponsors, treat the arch like a billboard, not a flyer.
Anchoring: the part that separates pros from cowboys
An inflatable arch is only as good as its anchoring.
At events, the risk isn’t just the arch moving. It’s:
-
people tripping on anchor lines
-
pegs pulling out
-
weights being insufficient
-
changes in wind direction
Anchoring for grass and soft ground
Use heavy duty steel pegs and ensure:
-
correct tie-down angle (pulling down and out)
-
no slack
-
all anchor points used if available
Anchoring for hard standing
No pegs. You need ballast.
-
sandbags
-
weight plates
-
water weights
Plan this early. Events rarely let you improvise anchor weight once you arrive.
How many anchor points?
More than you think, especially on larger models.
If the arch has multiple reinforced tie-down loops along both legs, use them. That’s not decoration.
Setup: what “good setup” looks like
A properly setup arch:
-
sits square
-
reads cleanly from the route
-
has tidy anchor lines
-
is inflated to firm pressure (not soft)
-
has no sharp bends or twists in the fabric
-
has anchor points protected from foot traffic
If your arch looks floppy, it looks cheap, no matter how premium it is.
Multi-day events: what changes
If your arch is up for multiple days, think about:
-
overnight weather shifts
-
morning dew and moisture
-
security patrol routes
-
preventing public interference with tie-downs
Sealed-air arches handle this better because you’re not relying on a blower and constant power.
Maintenance and care: keep it looking premium
If you want arches to last:
-
clean them after events
-
dry before packing
-
avoid packing sharp grit inside folds
-
patch repairs early rather than “next time”
-
store in a dry environment
Most inflatable damage isn’t dramatic punctures. It’s slow wear and bad storage.
Frequently Asked Questions
How long does it take to set up an inflatable arch?
Can inflatable arches be used on hard standing?
Can inflatable arches stay up overnight?
Does an inflatable arch need constant power?
What size arch do I need?